Have you ever seen those wonderful pictures where water looks so smooth or clouds appear to be streaking across the sky?
These effects are formed using a technique called long exposure photography, and today we’re going to learn how to do it using a Neutral Density (ND) filter.
Being a photographer is not about knowing everything, but it is about how well you know what you know. Don’t worry if you’re new to this – we’ll keep things simple and easy to understand!
What is Long Exposure Photography?
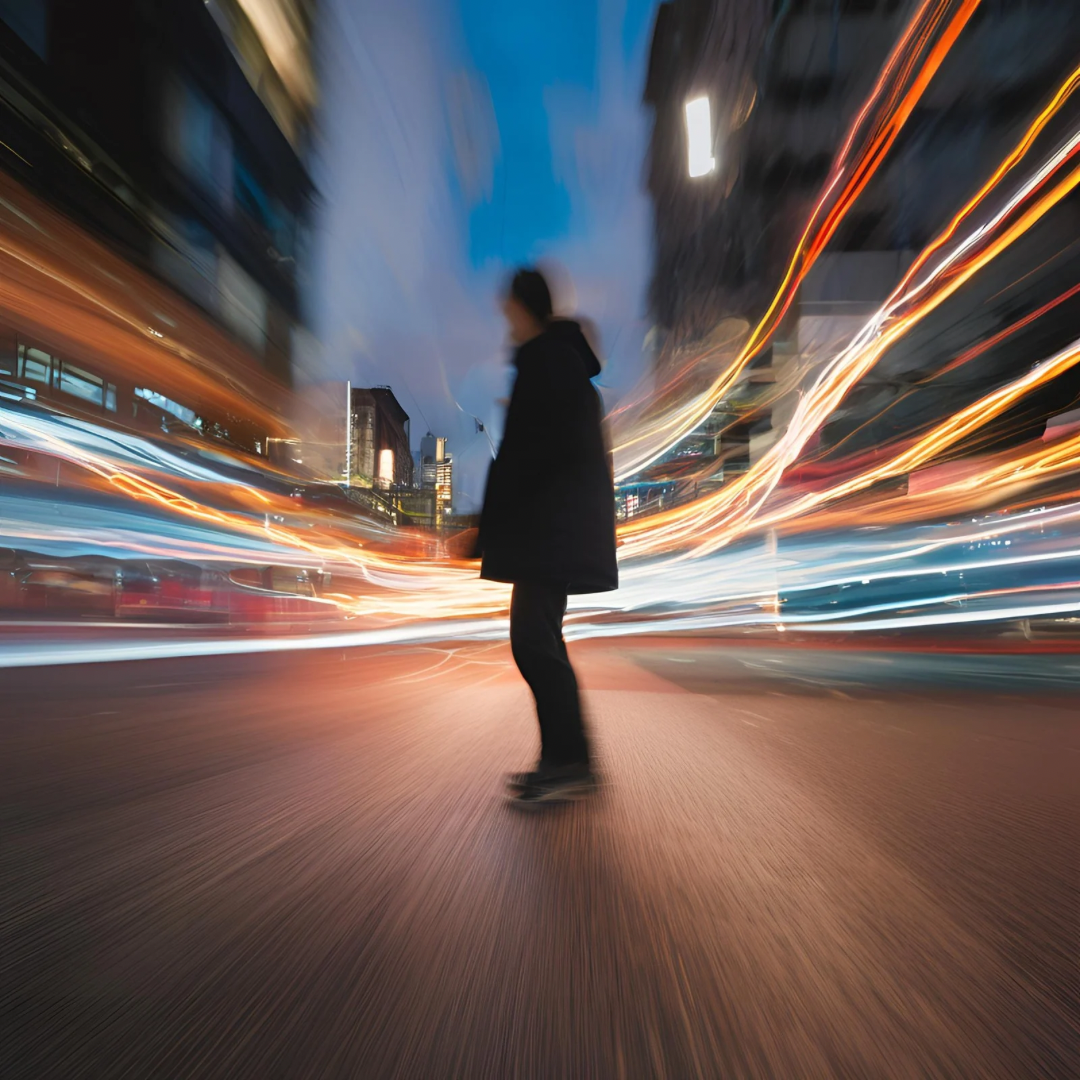
Let me tell you all about this Long exposure photography and what it entails. It is mainly about slowing down your camera’s shutter speed. Instead of capturing an image in a fraction of a second, we’re talking about keeping the shutter open for several seconds or even minutes.
This slow shutter speed allows the camera to capture movement over time, creating those beautiful blurry effects on moving subjects while keeping stationary objects sharp.
Why Use an ND Filter?
Think of an ND filter as sunglasses for your camera. It reduces the amount of light entering your lens, allowing you to use those super-slow shutter speeds even in bright conditions without overexposing your image.
What You’ll Need
Before we look into the steps, let’s make sure you have everything you need:
- A camera with manual mode
- A sturdy tripod
- An ND filter
- A remote shutter release (optional, but helpful)
- A dark cloth (optional, for preventing light leaks)
Choosing Your ND Filter
ND filters come in different strengths, measured in “stops” of light they block. For beginners, a 6-stop or 10-stop filter is a good place to start. Don’t worry too much about getting the perfect strength right away – you can always stack filters or adjust your camera settings to compensate.
A Step-by-Step process to Long Exposure Photography with an ND Filter
Now, let’s get into the fun part – actually taking the photo! Here’s a simple, step-by-step guide:
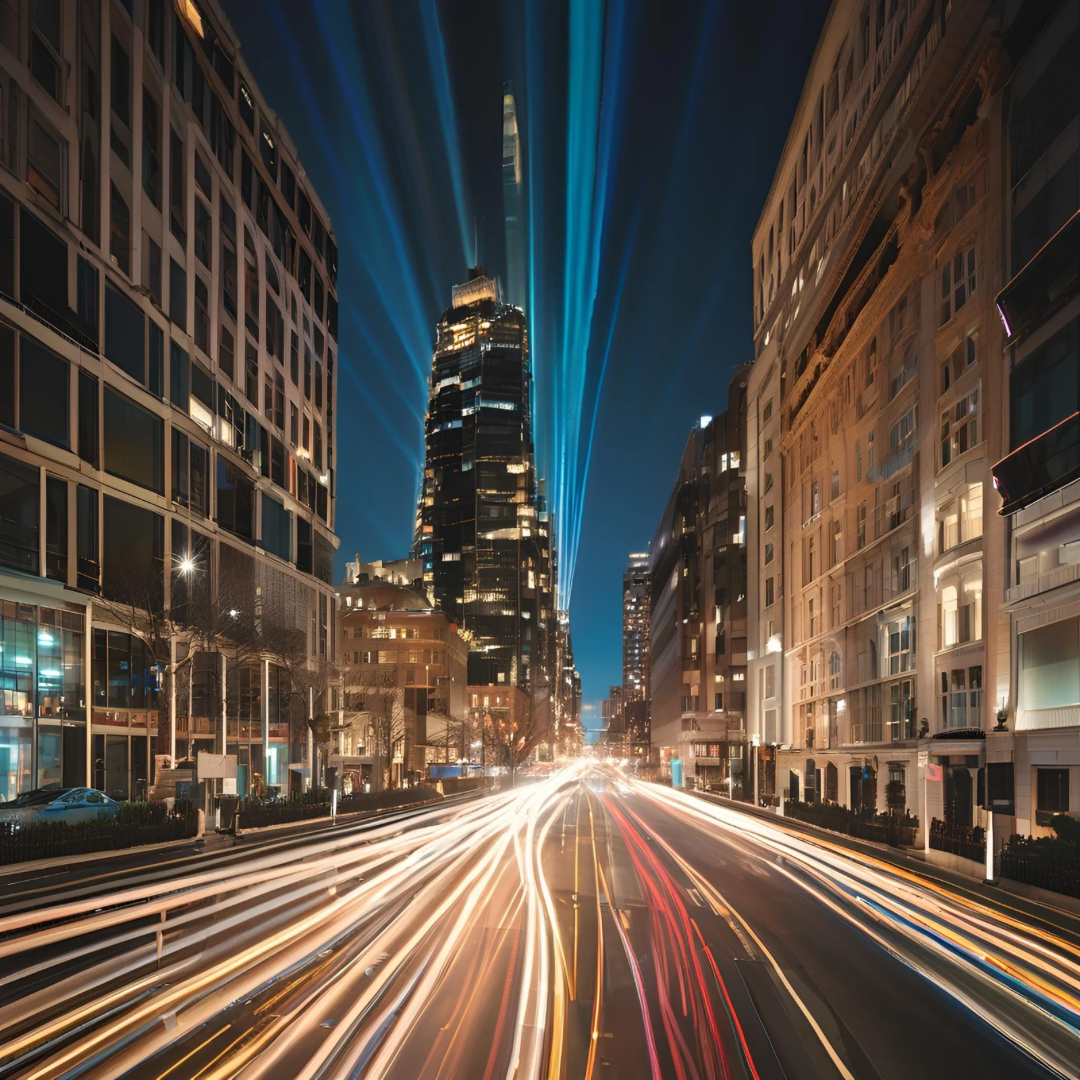
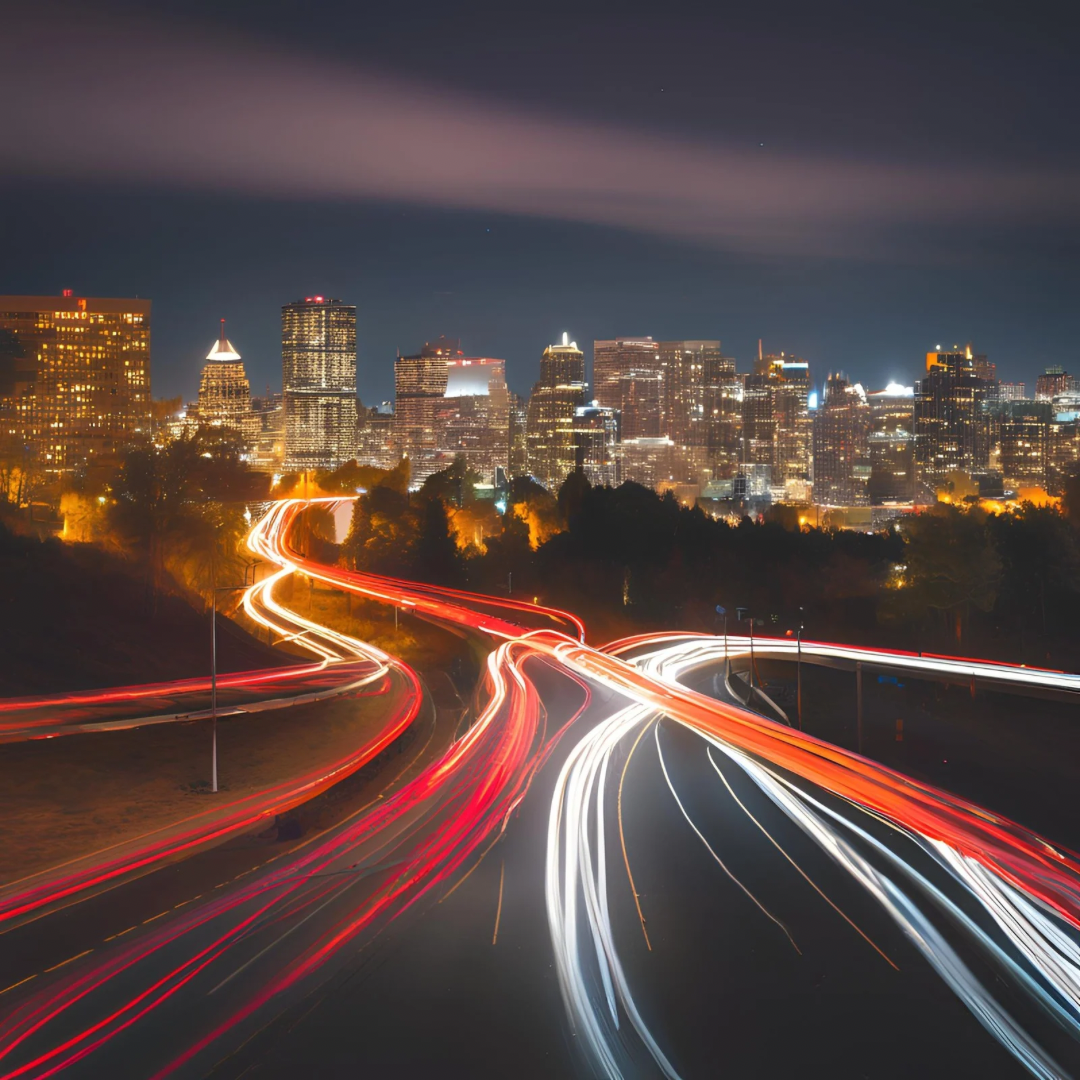
- Set Up Your Shot: Find a scene with both moving and stationary elements. Flowing water, moving clouds, or traffic are great subjects for long exposures.
- Set up your tripod and mount your camera. Make sure everything is stable – we don’t want any camera shake during the long exposure.
- If your camera has image stabilization, turn it off. It can actually cause blur when the camera is on a tripod.
- Compose and Focus
- Frame your shot just how you want it.
- Focus on your subject. This is important to do before attaching the ND filter because once it’s on, your camera might struggle to focus.
- If you’re using autofocus, switch to manual focus after you’ve focused to prevent the camera from trying to refocus during the exposure.
- Take a Test Shot
- Before attaching the ND filter, take a test shot using your camera’s normal settings.
- Check the exposure and composition. This will be your reference point.
- Calculate and Set Your Long Exposure
- Based on your test shot, calculate how long your exposure needs to be with the ND filter.
- For example, if your test shot was 1/30th of a second, and you’re using a 10-stop ND filter, your new exposure time would be about 30 seconds.
- Set your camera to Manual mode and dial in this new shutter speed.
- Adjust your aperture if needed, but try to keep your ISO as low as possible for the best image quality.
- Attach the ND Filter
- Carefully screw or slide the ND filter onto your lens.
- Double-check that it’s secure to prevent light leaks.
- Cover the Viewfinder
If your camera has an optical viewfinder, cover it with the eyepiece cover or a piece of dark cloth. This prevents light from entering through the viewfinder and affecting your exposure.
- Take the Shot
- Use a remote shutter release or your camera’s self-timer to trigger the shot. This prevents camera shake from pressing the shutter button.
- Wait patiently while your camera captures the long exposure.
- Review and Adjust
- Check your image on the camera’s LCD screen.
- If it’s too bright or too dark, adjust your settings and try again.
- Don’t be discouraged if it takes a few tries to get it right – that’s all part of the learning process!
Some of the things you should keep in mind
- Start with shorter exposures (like 10-30 seconds) and work your way up to longer ones as you get more comfortable.
- Experiment with different subjects and lighting conditions. Long exposures can create interesting effects at different times of day.
- Be patient! Long exposure photography takes time, both in setting up the shot and in the exposure itself.
- Always check your first few shots to make sure you’re not getting any light leaks or unwanted reflections from the filter.
Conclusion
Long exposure photography opens up a world of creative possibilities. With practice and patience, you’ll be creating stunning images in no time.
We also have a free ebook on how to setup and run a successful virtual photoshoot